Review drawings against your own checklists
Reviewers open the drawing in the browser, work through your QA/QC checklist, and mark up the PDF as they go. Each markup is filed under the checklist item it relates to, and each item gets a decision.
Free for 14 days, with every feature included.


- 1Clouds, callouts, arrows, highlights, and comments go straight on the sheet.
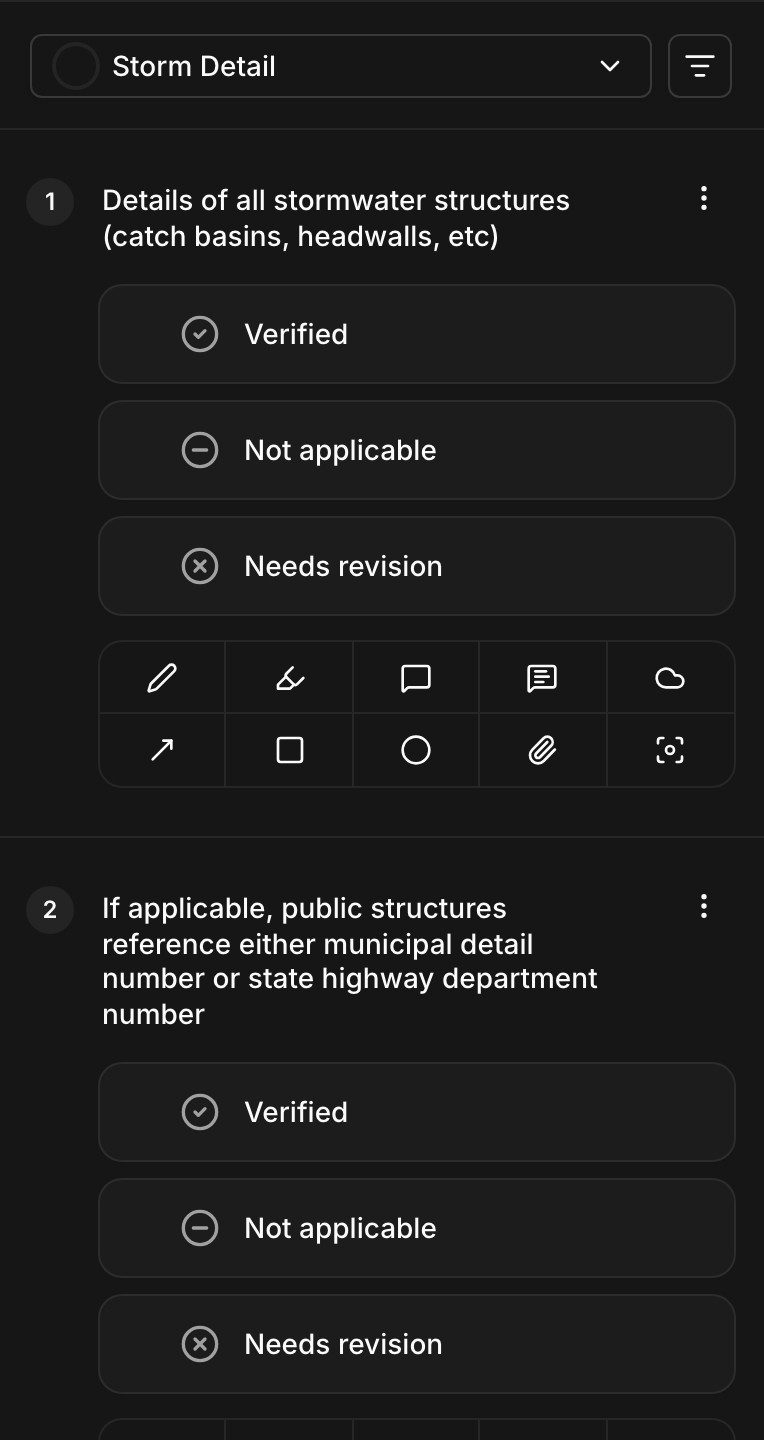
- 2Each checklist sets its own responses, from done and not done to five or more options. This one uses verified, not applicable, and needs revision.
- 3Each item has its own markup tools, so every markup is drawn against the item it answers.
- 4On a heavily marked-up sheet, Isolate hides every markup except the ones drawn for that item.
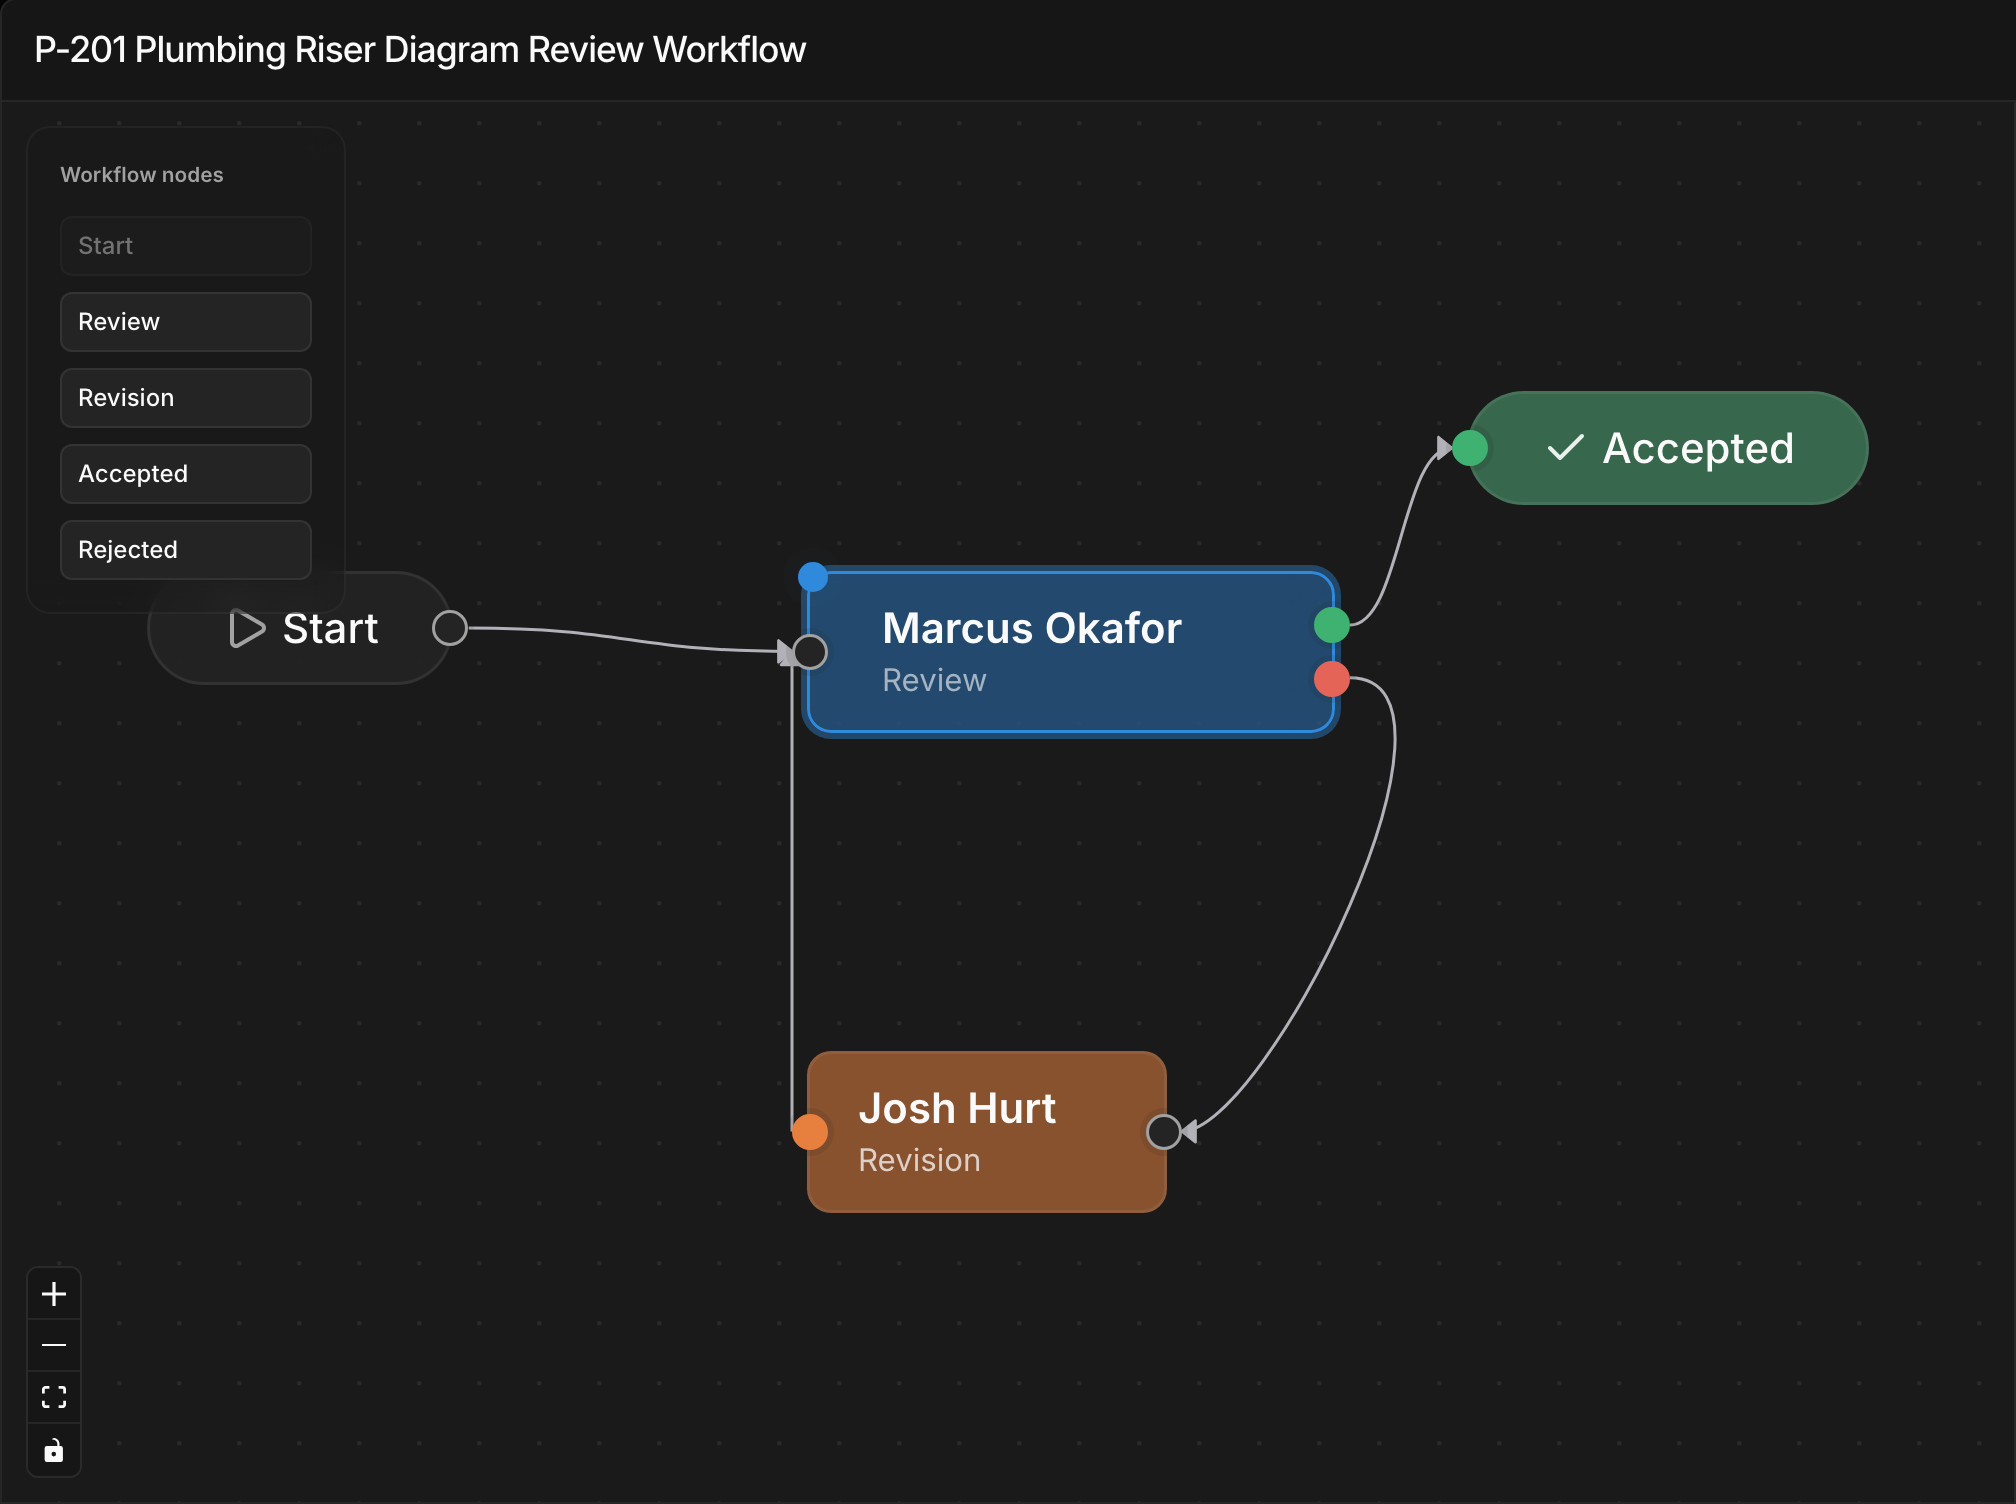
- 5Each document follows its own review workflow: who reviews it, in what order, and who revises it.
A marked-up PDF can't tell you what was checked
Comments on a PDF show what a reviewer noticed. They don't show which requirements were checked, which were skipped, or whether the sheet passed. That usually lives in the reviewer's head or in a separate spreadsheet.
Every markup is filed under a checklist item
Each checklist item has its own markup tools: pen, highlighter, rectangle, ellipse, arrow, cloud, callout, comment, and attachment, in nine colors. A markup is drawn against the item whose tools you picked, so nobody has to work out later which issue it belongs to.
On a heavily marked-up sheet, click Isolate on an item to hide every other item's markups. The Annotations list names the item on every markup, and you can export the marked-up PDF.

Turn a markup into a task
When a markup needs work, create a task from its card in the review's Annotations list. The task gets an assignee and due date like any other, links back to the markup, and reopens the review centered on that spot. Each card lists the tasks made from its markup and their status.
Set each checklist's responses and what passes
Each checklist template has its own response options. Use verified, not applicable, and needs revision, a simple done and not done, or five or more options of your own, and set whether each one passes or blocks the review.
A document can be accepted only when every item has a response and none of them blocks, and it can be rejected once any item has a blocking response. Changing a template's options doesn't change reviews already underway.
Each document follows its own review workflow
Before a review starts, lay out the document's route on a canvas: who reviews it, in what order, and who revises it when it's sent back. Reviewers can be on your team or outside it. A rejection sends the document to revision and then back to the reviewer, who can accept it once every checklist passes.
Each step has a reminder setting, and Paradesk emails anyone who holds a document past it.

Four ways to build a checklist
- Write it by hand, organized into up to ten categories.
- Import it from a CSV file.
- Describe the submittal type and jurisdiction, and the assistant drafts it for you to edit before publishing.
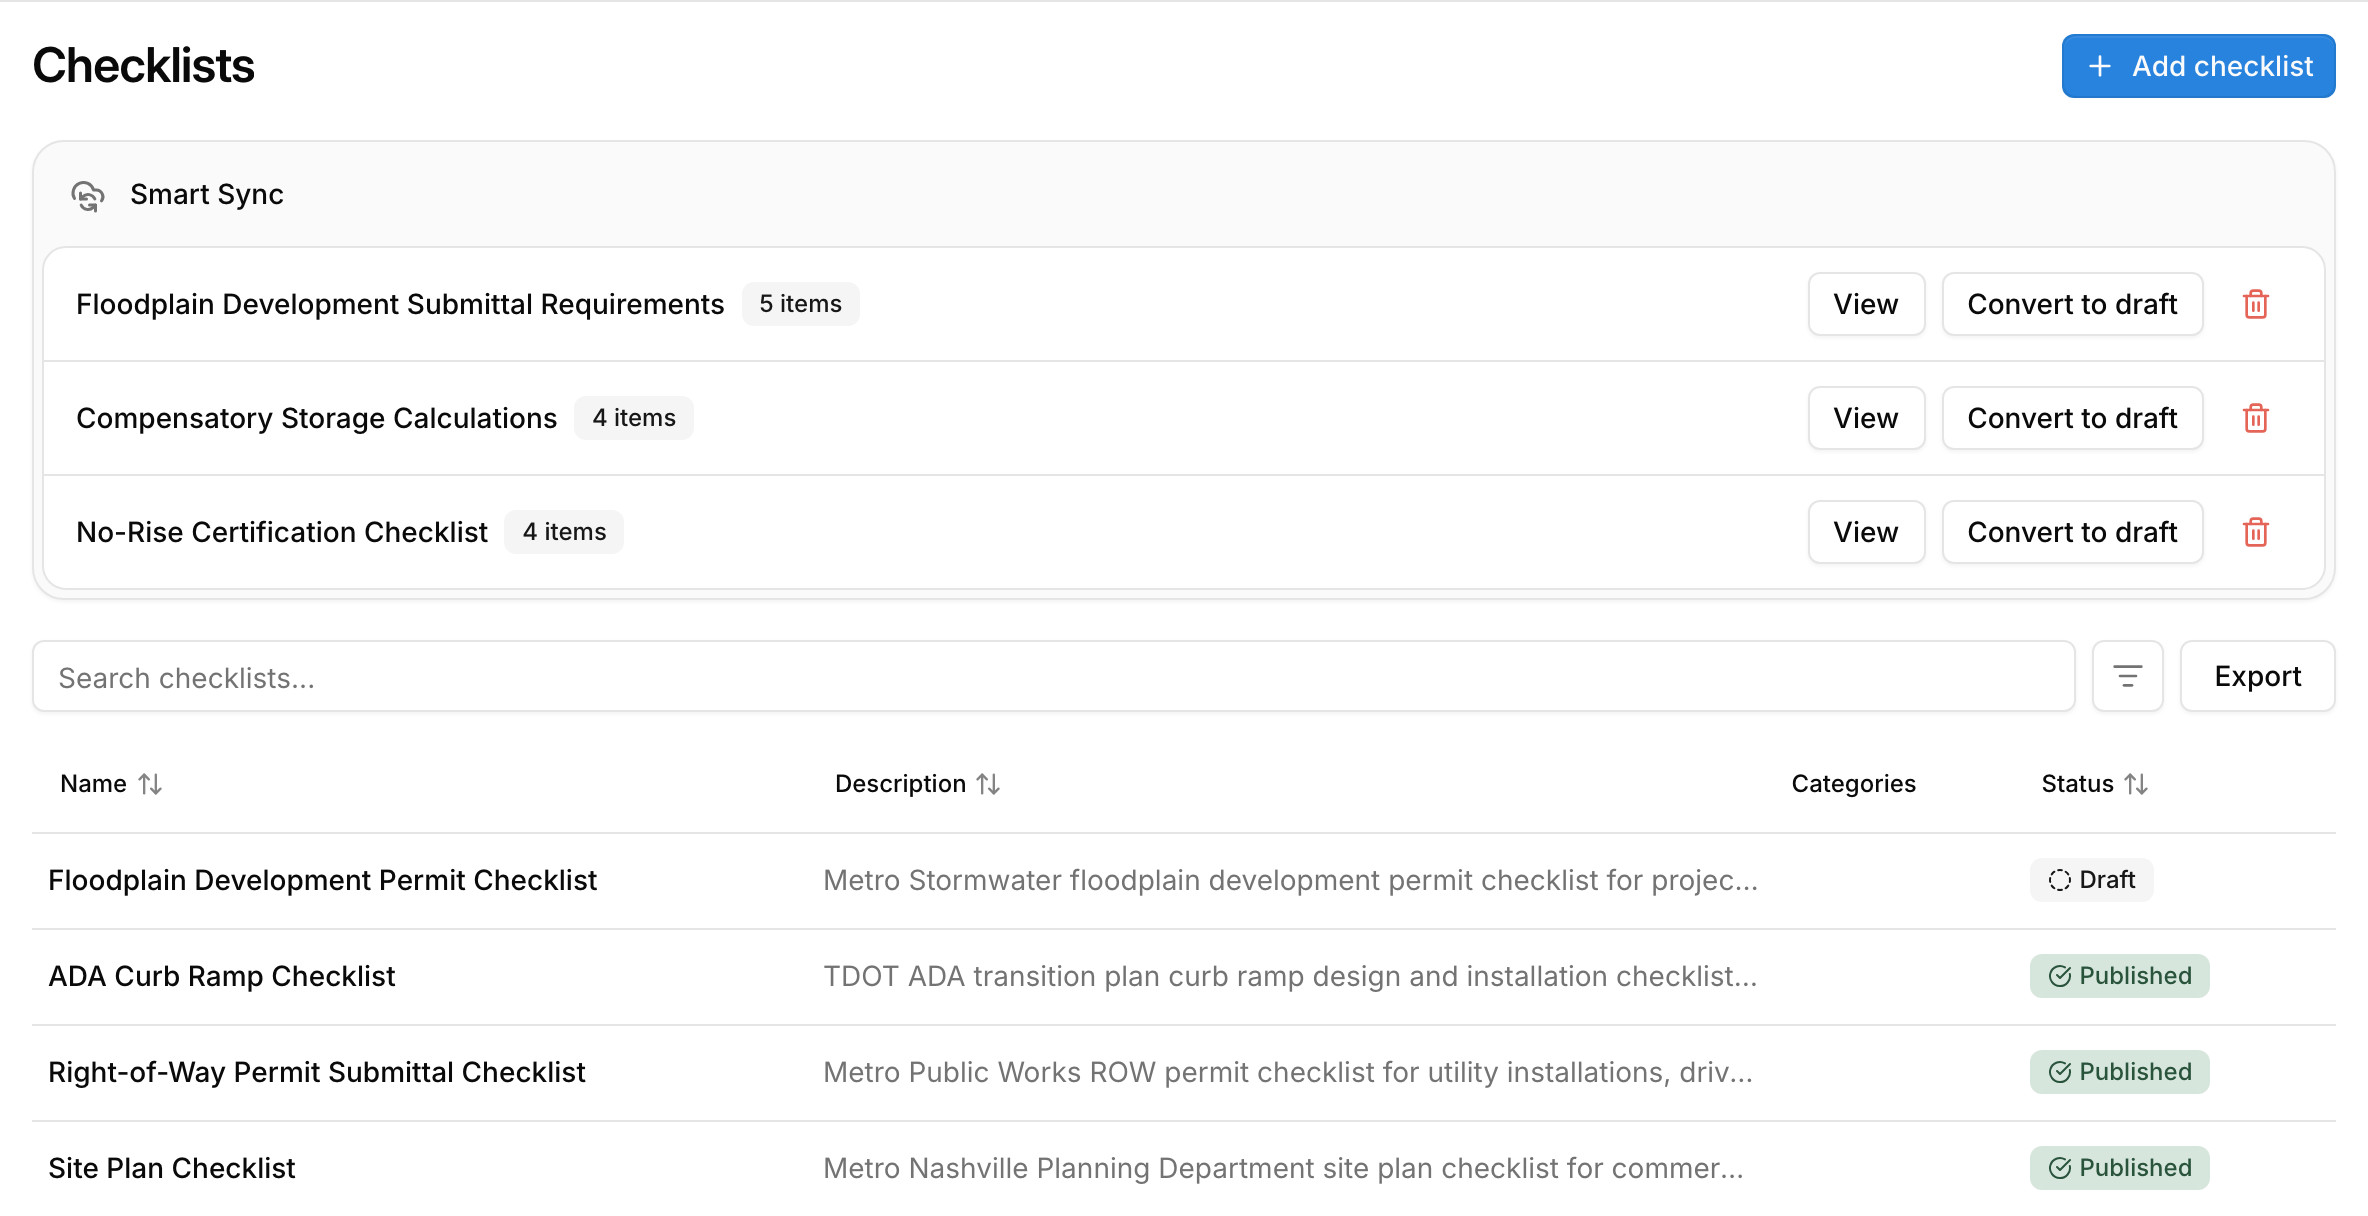
- Smart Sync (beta): enter the web address of a city, county, or DOT checklist, or upload its PDF. Paradesk pulls out candidate items for you to review and publish, checks the source each week, and brings any changes back for your approval.
Templates keep a revision history.

A record of who decided what
Paradesk records who reviewed each document, what they decided, and when. You can download a document's activity as a CSV file.
Common questions
Try Paradesk on a project you're working on now
Set up a project with its contract and phases, invite your team, and give the assistant some of the routine work. Your first 14 days are free, with every feature included.